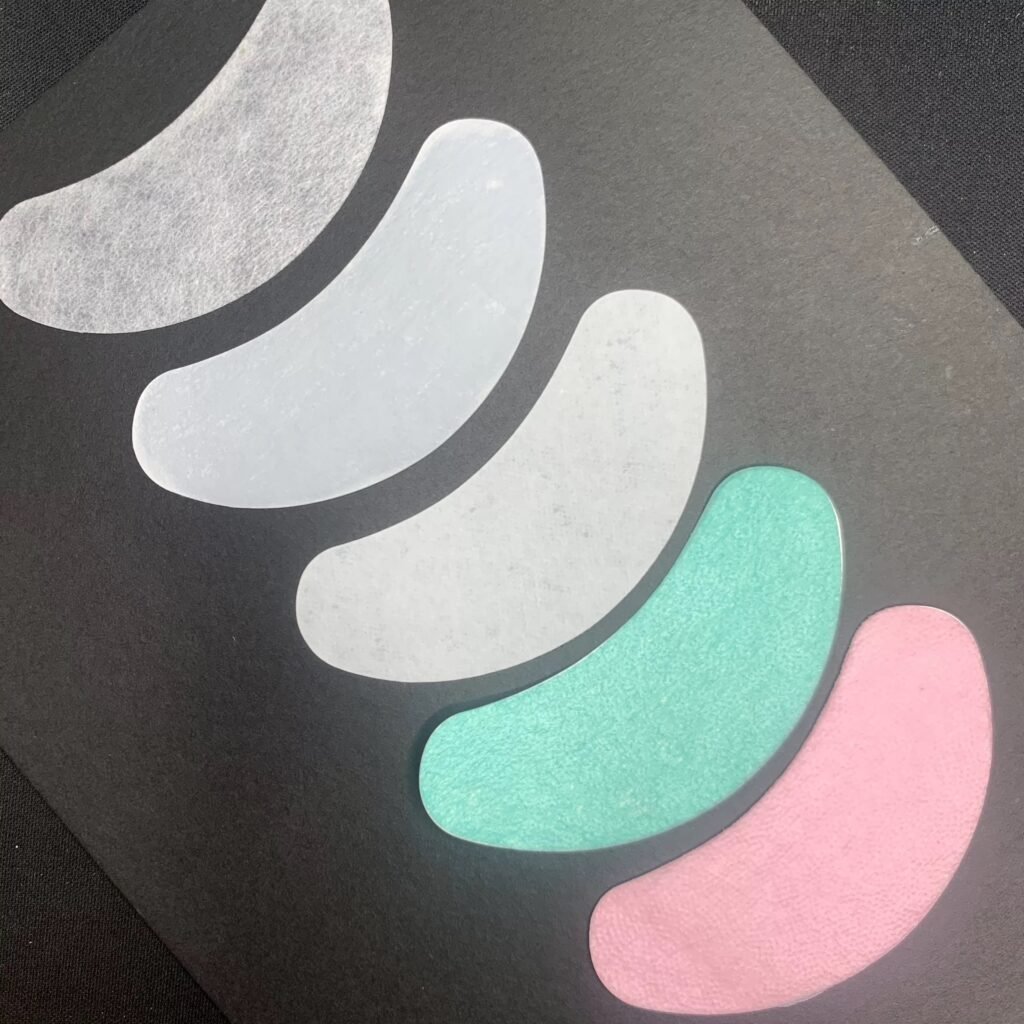
The application of eyepatches can sometimes be tricky. Whether you are an experienced lash technician or a complete beginner, you should always follow these simple rules:
— Use protein remover pads to wipe the eye area from any oils to ensure patches stick to the skin well. Eyepatches will not stick to oily skin properly.
— Use one pair of eyepatches per client and dispose them after the use
— Apply the eyepatches 1-2 mm below the waterline and cover the bottom lashes
— Adjust the eyepatches after your client has closed her eyes and secure the placement of patches with micropore tape if needed
— If any baby lashes pop out, cover them with micropore tape
But even if you follow all eyepatch application rules, you can still struggle sometimes.
Problem 1: Client’s bottom lashes are so strong and springy that they are popping out of the eyepatches
Solution: place the eyepatches under the bottom Lashes and apply micropore tape on the top – all natural lashes will be “sandwiched” between the tape and eyepatches and will stay in place until the end of the treatment. Please make sure you stick the micropore tape to the back of the hand first, so it becomes less sticky. Otherwise you might find difficult to remove the tape after the treatment.
Problem 2: You have placed the eyepatches and they now look very comfortable for you and you are ready to start the lash application. Shortly after you start the treatment, your clients eyes start watering.
Solution: Before you start the treatment, lift the top eyelid up and check that the eyepatches are not touching your client’s eyes or the waterline. If eyepatches are touching the eyeball or the waterline, then it may irritate your client’s eyes, causing them to water and resulting with redness at the end of the treatment.
Problem 3: The gel always plumps out and sticks to your client’s eyes
Solution: This is the after effect of the eyepatches applied too close your client’s eyes – it will scratch the eye inside. Make sure you check that the eyepatches are not touching the eyeballs of your client by lifting up the eyelid before starting the application.
Problem 4: You can’t see the lashes in the outer corner as they are bent under the eyepatches
Solution: In order to get the lashes out from underneath the eyepatch, simply peel the patches up and move them down without pulling the eyelid down. You can also use the help of tweezers to gently pull the lashes out from under the eyepatch.
By Hanna Putjato(CEO, London Lash Pro)


